How to upgrade an M6A/M10A with Wi-Fi cloud monitoring
Equipment:
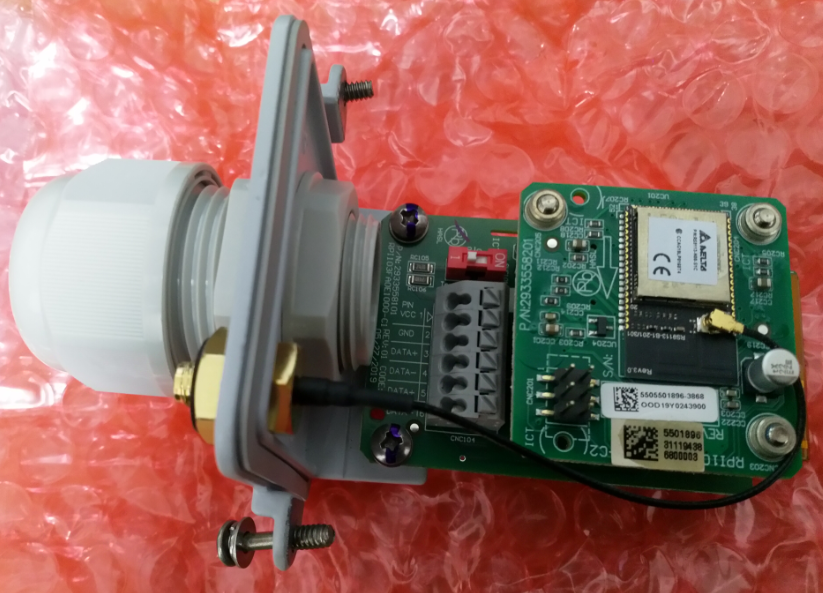
-Wi-Fi Comms card for M6A/M10A
-Windows laptop (if old FW is present on inverter) (download DSSV5.4.2 and latest COMM and DSP)
-RS-485 to USB converter
Step 1. Check the FW currently on the device
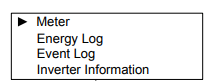
Press any button while inverter is on the homepage
Scroll down to “Inverter Information” and press “ENT”
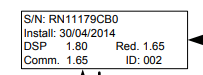
The COMM FW must be a minimum of 1.25 for operation of a Wi-Fi module. If the inverter has older FW please use a USB-RS-485 cable to update the inverter via our DSS software using a Windows laptop.
Delta recommends to update the latest the DSP and COMM FW on the inverter (see latest FW HERE), if the COMM FW is not out of date the update can be done via Wi-Fi using a Windows laptop and DSS or via Android/IOS using the MyDeltaSolar APP.
Step 2. Ensuring that the FW is now up to date for operation of the Wi-Fi module, switch the inverter off by the standard shutdown procedure.
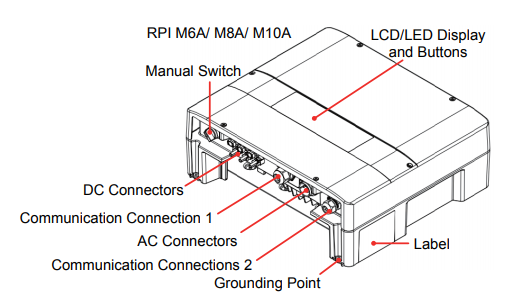
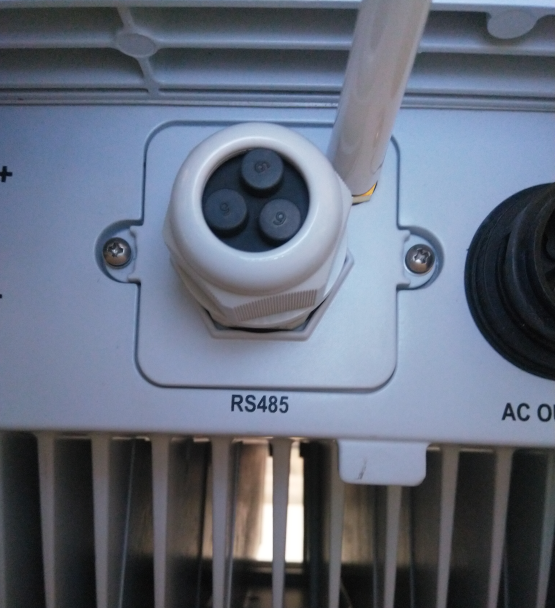
Step 3. Locate Communication Connection 1 on the underside of the inverter
Step 4. Remove the two screws holding Communication Connection 1 to the inverter and remove the card.

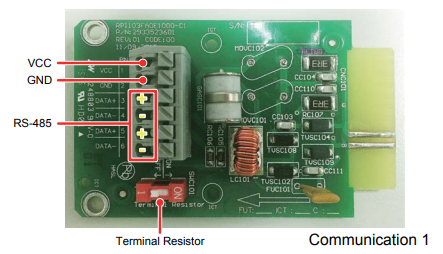
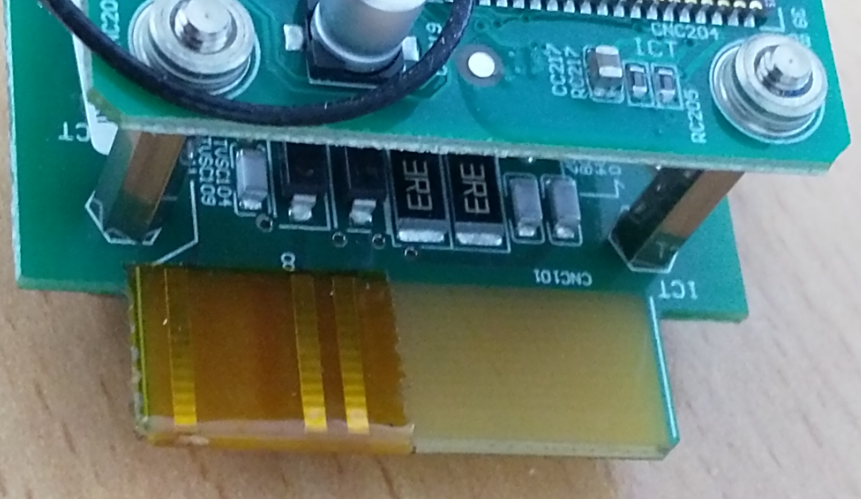
Communication card
Step 4. Remove the tape covering the terminals of the card.
Step 5. Insert the new Communications card and attach antenna. Remember to tighten the two screws holding the card in place.
Turn the inverter back on and check to see if a Wi-Fi signal appears, check this with a smart phone.
Congratulations, your inverter can now be commissioned via the MyDeltaSolar App.
See cloud commissioning instructions FAQ HERE
If you have any questions don’t hesitate to call the support line on 03 8546 3080.